how to take down pendant light
July 25, 2025 – Peyton stella Allison
Removing a pendant light is easy if you follow steps. Many homes have these lights in kitchens, halls, or bedrooms. Safety is most important, so turn off the power first. Get your tools ready and do not rush. You can take off the fixture and handle wires safely. If you are careful and patient, you will not break anything and will finish the job well.
Key Takeaways
- Always turn off the power at the breaker. Use a voltage tester to make sure there is no electricity before you start.
- Gather all thetools you need . Put a towel or drop cloth under your work area to keep it safe and neat.
- Take out the bulb and shade first. Then, unscrew the canopy carefully so you can see the wires.
- Gently disconnect the wires. Remove the fixture slowly. Ask someone to help if it is heavy or hard to reach.
- Be careful with old wiring and stuck fixtures. Throw away old parts the right way or donate them if they still work.
Tools and Safety
What You Need
Before you start, gather all the tools and safety gear you need. Having everything ready will help you work faster and safer. Here is a list of what you should have:
- Screwdriver (usually Phillips or flathead)
- Voltage tester
- Ladder or step stool
- Work gloves
- Safety goggles
- Small container for screws
You may also want a flashlight if the room is dark after you turn off the power. A helper can make the job easier, especially if the pendant light is heavy or hard to reach.
Tip: Place a towel or drop cloth under the work area. This protects the floor and catches any small parts that might fall.
Safety First
Safety must come first when you work with electricity. Always turn off the power at the breaker box before you touch the pendant light. Do not trust just flipping the wall switch. Go to your breaker panel and find the switch that controls the light. Turn it off.
Next, use a voltage tester to check that the wires are not live. Hold the tester near the wires where the pendant light connects to the ceiling. If the tester shows no power, you can move on. If you see any sign of power, stop and check the breaker again.
Wear gloves and goggles to protect your hands and eyes. Make sure your ladder stands on a flat surface. Never rush. Take your time and double-check each step. If you feel unsure at any point, ask for help or call a professional.
Before Removing Pendant Light
Turn Off Power
You must always start by making sure the power is off. Go to your breaker box and find the switch that controls the pendant light. Flip the breaker to the "off" position. Do not trust the wall switch alone. After you turn off the breaker, use a voltage tester to check the wires at the fixture. Hold the tester near the wires to see if any electricity remains. If the tester shows no power, you can move forward. If you see any sign of power, double-check the breaker. Safety comes first every time you work with electricity.
Note: Never skip this step. Even a small amount of electricity can cause harm.
Prepare the Area
Clear the space under the pendant light before you begin. Move tables, chairs, or anything that might get in your way. This gives you room to work and keeps your things safe. Lay down a towel or drop cloth to protect the floor from dust or falling parts. Gather your tools and place them within easy reach. You do not want to climb up and down the ladder many times.
Look at the pendant light and see how it attaches to the ceiling. Some lights use screws, while others have clips or a twist-lock system. Take a moment to study the fixture. If you have the manual, review it for special instructions. Knowing the mounting style helps you avoid surprises during removal.
Tip: Take a photo of the fixture before you start. This can help you remember how to put it back or show a professional if you need help.
Pendant Light Removal Steps
Remove Bulb and Shade
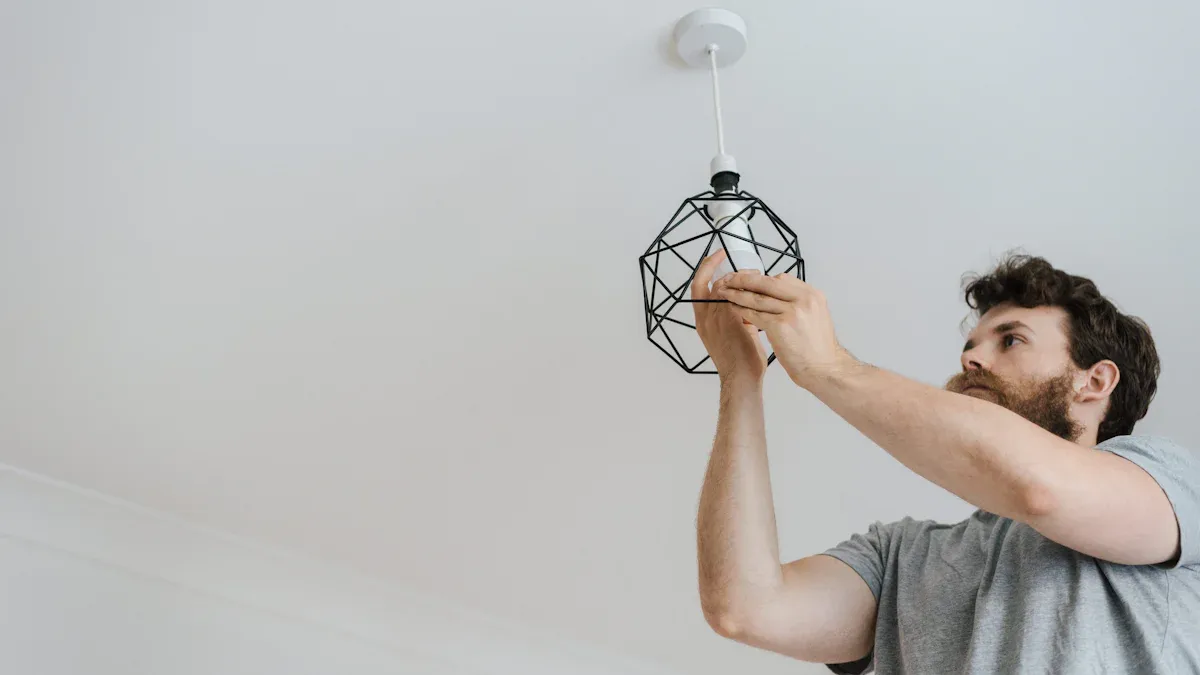
Start by taking out the light bulb. Wait until the bulb cools if it was on recently. Hold the bulb gently and turn it counterclockwise. Place the bulb in a safe spot where it will not roll or break.
Next, remove the shade or cover. Many pendant lights have shades made of glass or metal. Some shades attach with small screws or clips. Use a screwdriver if needed. Hold the shade with one hand while you loosen the screws with the other. Lower the shade carefully and set it aside.
Tip: If your pendant light has more than one bulb or shade, repeat these steps for each one.
Unscrew Canopy
The canopy is the part that covers the electrical box in the ceiling. Look for screws or a locking ring that holds the canopy in place. Use your screwdriver to loosen these screws. Support the canopy with your hand as you remove the last screw. Lower the canopy gently to reveal the wires inside.
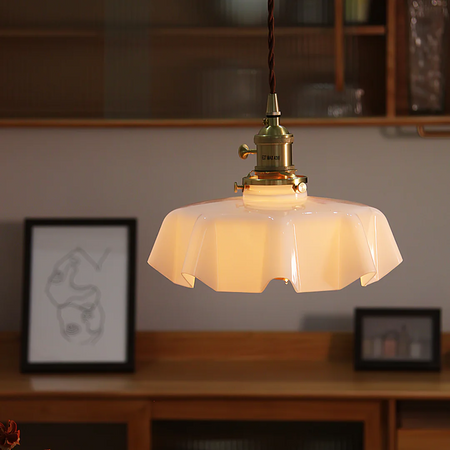
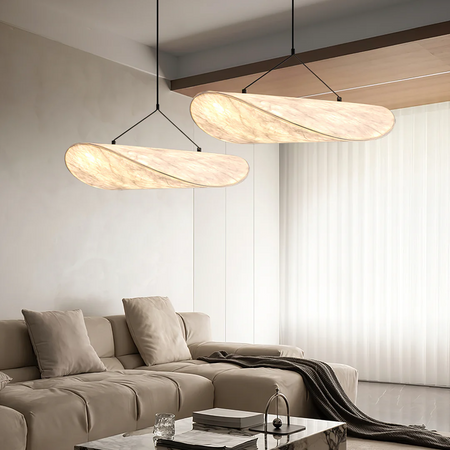
Pendant lights come in different styles, such as mini pendants, multi-light pendants, linear pendants, and drum pendants. Most types use a similar canopy system, so these steps work for many fixtures. Some canopies twist off instead of using screws. If you see a twist-lock, turn the canopy gently until it comes loose.
Note: Keep all screws and small parts in a container so you do not lose them.
Disconnect Wires
You will see several wires connecting the pendant light to the ceiling. Usually, there is a black (hot) wire, a white (neutral) wire, and a green or bare copper (ground) wire. Check again with your voltage tester to make sure no power is present.
Loosen the wire connectors (wire nuts) by turning them counterclockwise. Hold the wires as you remove the connectors so they do not spring apart. Separate the wires from the pendant light from the wires in the ceiling. Let the ceiling wires hang down gently.
Always handle wires with care. Do not pull or twist them too hard. This helps prevent damage to the wiring in your ceiling.
Take Down Fixture
Once you disconnect the wires, you can remove the pendant light fixture. Hold the fixture with both hands and lift it away from the mounting bracket or hook. Some fixtures have a chain or rod that you may need to unhook or unscrew. Lower the fixture slowly and set it on a soft surface.
Pendant lights can vary in size and weight. Mini pendants are small and easy to handle. Multi-light and drum pendants may be heavier and need extra support. If your fixture feels heavy, ask someone to help you.
Tip: If you plan to reuse the pendant light, wrap it in a towel or bubble wrap to protect it from scratches.
No matter which type you have, always move slowly and keep a firm grip on the fixture. This prevents accidents and protects both you and your pendant light.
Troubleshooting
Stuck Fixtures
Sometimes, you may find that the pendant light will not come loose from the ceiling. This can happen if paint, dust, or old hardware holds the fixture in place. Do not force it. Forcing can damage the ceiling or the fixture.
- Try gently twisting the canopy back and forth.
- Use a flathead screwdriver to loosen any paint or debris around the edge.
- If you see screws, make sure you have removed all of them.
Tip: If the fixture still will not move, spray a small amount of penetrating oil around the stuck area. Wait a few minutes, then try again. Always protect your eyes and hands when using any spray.
If you feel resistance, stop and check for hidden screws or clips. Some fixtures have extra fasteners under the canopy.
Old Wiring
You might find old or brittle wires when you remove the canopy. Old wiring can break easily and may not meet current safety standards. Handle these wires with care.
- Check the wire insulation. If it looks cracked or frayed, do not touch the bare wire.
- Use electrical tape to cover any exposed spots.
- If you see cloth-covered wires, avoid pulling or twisting them.
Alert: If you feel unsure about the wiring, call a licensed electrician. Old wiring can be dangerous.
Missing Screws
Sometimes, you may notice that screws are missing or stripped. This can make it hard to remove the fixture or put it back later.
- Look for extra screws hidden under paint or inside the canopy.
- Use a flashlight to check dark corners.
- If a screw is stripped, use a rubber band between the screwdriver and the screw for better grip.
Note: Keep all screws in a small container. If you lose one, take a sample to the hardware store to find a match.
Troubleshooting these issues helps you finish the job safely and keeps your ceiling in good shape.
After Removal
Safe Disposal
You have finished taking down your light fixture. Now, you need to decide what to do with the old parts. Some materials, like glass or metal, can be recycled. Check your local recycling rules before you throw anything away. Many cities have special drop-off spots for electrical items.
- Place glass shades in a sturdy box to prevent breaks.
- Wrap metal parts in newspaper or bubble wrap.
- Take bulbs to a recycling center if they are not LED or CFL. Some stores accept old bulbs.
Tip: Never put electrical parts in your regular trash. These items can harm the environment.
If your fixture still works, you can donate it. Many thrift stores or building supply centers accept used lights. You help others and keep waste out of landfills.
Reinstall or Replace
After you remove the old fixture, you have a few choices. You can install a new light, cover the ceiling box, or leave the space open for now.
If you want to put up a new fixture, check the wires and mounting bracket. Make sure everything looks safe and clean. Follow the instructions that come with your new light. Always turn off the power before you start.
If you do not plan to install a new light right away, cover the ceiling box with a blank plate. This keeps wires safe and meets most building codes.
Note: If you feel unsure about wiring or installation, call a licensed electrician. Safety always comes first.
You can take down a pendant light if you are careful. Always turn off the power before you start. Use a voltage tester to make sure there is no electricity. Pick tools with insulation to stay safe. Do not put too many things on one circuit. Throw away old bulbs and fixtures the right way. Get help if the light is heavy or hard to reach. Read every instruction before you begin. If you do not feel sure, call an electrician. Good planning helps you finish the job safely.
FAQ
How do you know if the power is really off?
Use a voltage tester on the wires before you touch anything. The tester should show no power. Always check even if you turned off the breaker.
Can you reuse a pendant light in another room?
Yes, you can reuse your pendant light. Make sure the fixture and wires look safe. Clean the parts before you install it in a new spot.
What should you do if you see damaged wires?
Stop working right away. Damaged wires can cause shocks or fires. Call a licensed electrician to fix or replace the wiring. Do not try to repair old wires yourself.
Do you need a permit to remove a pendant light?
Most places do not require a permit for simple light removal. If you plan to change wiring or install a new fixture, check your local building codes first.


